Sending email notifications is a common requirement for many sites on the web. Even static content sites often need to send emails for things like contact forms. This can often be a pain to configure. But when we combine Resend with Astro and Netlify, this process is a breeze.
#TL;DR
In this guide, we’re going to set up an Astro project to send emails using Resend. We’ll start simple and then add templating to make the process repeatable. You’ll leave equipped and inspired to bring email functionality in your applications following a few best practices.
#Prerequisites
Whether you’re going to follow the guide or just want to clone and deploy an example, you’ll need to do the following:
- Fulfill Astro’s prerequisites
- Create a Resend account
- Create and store a Resend API key
- Add and verify your domain with Resend
#JFDI (just deploy it)
After setting up a Resend account, if you’d prefer to jump right to seeing this in action, click the button below to deploy the project to Netlify. This will ask you for the appropriate environment variables, so make sure you have your Resend API key and verified domain ready.

Note that the project is equipped with some of the best practices mentioned at the end of this guide.
#Set up the example project
Let’s work through the setup process in just a few steps so that you have a simple project to work with.
#Create new Astro project
To begin, create a new, empty Astro project. Walk through the provided workflow and be sure to select the “Empty” template and enable TypeScript (the code examples are written with TypeScript).
> npm create astro@latest
Where should we create your new project? [default]How would you like to start your new project? EmptyDo you plan to write TypeScript? YesHow strict should TypeScript be? Strict...
Then change into the new project directory, replacing <project-name> with the generated or chosen project name.
> cd <project-name>#Install Netlify CLI
We’ll use the Netlify CLI to run our development server. This is a nice habit to get into when deploying to Netlify, as it allows you to work in a production-like environment before deploying.
> npm install -g netlify-cli@latest#Run the development server
Now we can start the development server.
> ntl devThis will open a browser window running at http://localhost:8888 with your new blank Astro project.
#Basic email functionality
We’re going to start by setting up a basic form that will allow us to send an email with the data from the form submission using Resend.
#Add email utilities
Although Resend has a Node.js SDK for sending emails, we’re going to use Nodemailer instead. This sets us up for a more flexible email system, where we can easily switch to an ephemeral email service as needed.
We’ll cover more about this later. For now, install Nodemailer and its type definitions.
> npm install nodemailer @types/nodemailer#Configure hybrid rendering
When wanting to add dynamic functionality into Astro, you can choose to use server or hybrid mode. Either will work here, but I tend to use hybrid mode for most sites, as it defaults to prerendered content, requiring that you opt in when you need server-side functionality.
import { defineConfig } from "astro/config";
export default defineConfig({ output: "hybrid" });#Add email form on the home page
In a typical application, any number of events might trigger sending an email. For many sites, this might be a contact form or a newsletter subscription form. For this example, we’ll keep it simple and add a form to the home page.
This form will provide the ability to write the full email. We’ll cover a templated approach later in the guide.
------
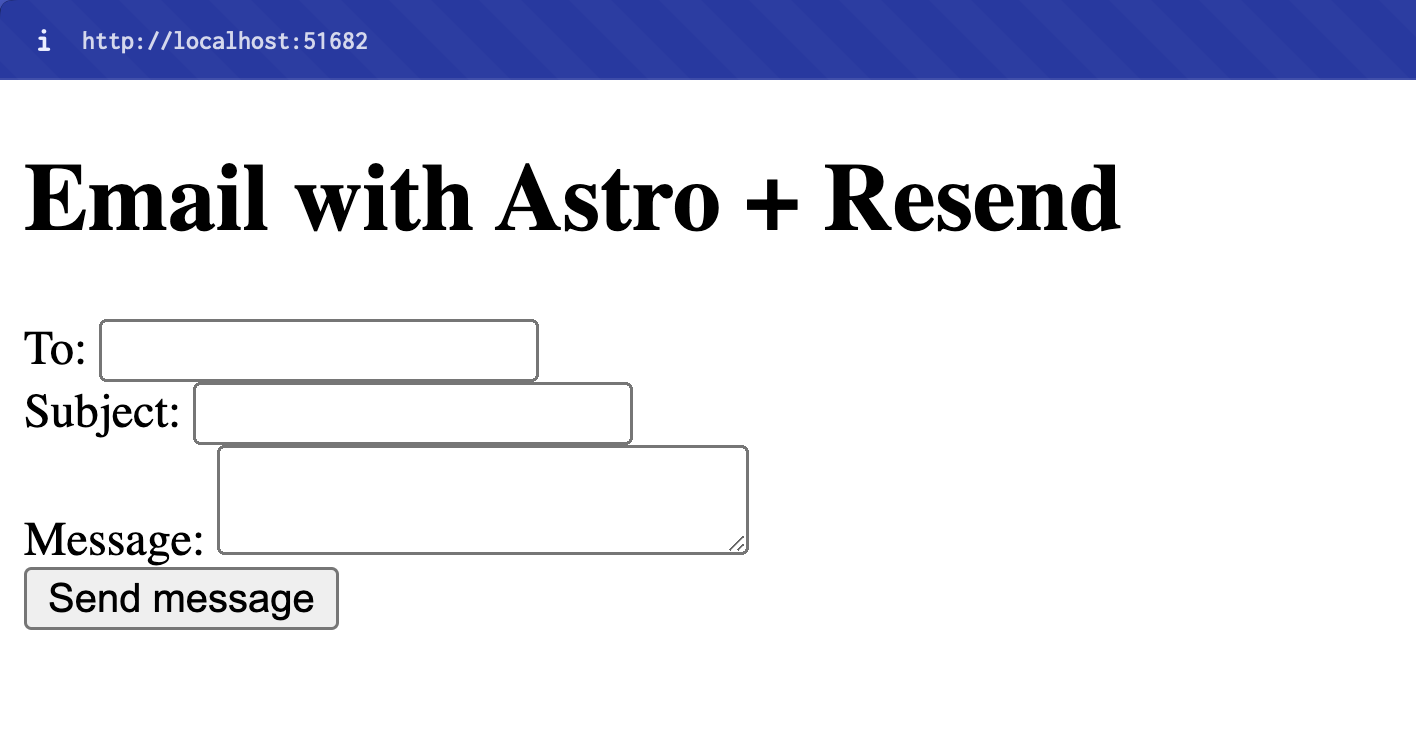
<html lang="en"> <head> <meta charset="utf-8" /> <link rel="icon" type="image/svg+xml" href="/favicon.svg" /> <meta name="viewport" content="width=device-width" /> <meta name="generator" content={Astro.generator} /> <title>Email with Astro + Resend</title> </head> <body> <h1>Email with Astro + Resend</h1>
<form action="/actions/send-email" method="post"> <div> <label for="send-email__recipient">To:</label> <input type="email" name="recipient" id="send-email__recipient" required /> </div> <div> <label for="send-email__subject">Subject:</label> <input type="text" name="subject" id="send-email__subject" required /> </div> <div> <label for="send-email__message">Message:</label> <textarea name="message" id="send-email__message" required></textarea> </div> <input type="submit" value="Send message" /> </form> </body></html>Here’s what the unstyled form should look like:
#Add email sending action
Notice in the home page markup that the form’s action attribute points to /actions/send-email. This is where we’ll handle the form submission and send the email.
import type { APIRoute } from "astro";import { sendEmail } from "../../utils/email";
export const prerender = false;
export const POST: APIRoute = async ({ request, redirect }) => {  // Get the form data submitted by the user on the home page  const formData = await request.formData();  const to = formData.get("recipient") as string | null;  const subject = formData.get("subject") as string | null;  const message = formData.get("message") as string | null;
  // Throw an error if we're missing any of the needed fields.  if (!to || !subject || !message) {    throw new Error("Missing required fields");  }
  // Try to send the email using a `sendEmail` function we'll create next. Throw  // an error if it fails.  try {    const html = `<div>${message}</div>`;    await sendEmail({ to, subject, html });  } catch (error) {    throw new Error("Failed to send email");  }
  // Redirect the user to a success page after the email is sent.  return redirect("/success");};
Here are the key points to note:
- We’ve opted out of prerendering this page by setting
prerendertofalse. This is because we want to run server-side code when the form is submitted. - We’re relying on a
sendEmailfunction. We’ll create that next. I like to do this because it keeps page logic clean and makes email sending reusable. - If successful, we redirect the user to a success page. We’ll create that soon, too. There are many ways to handle this, which we’ll cover at the end of this guide.
#Create the email-sending utility
Now let’s add the utility function that will send the email. We’ll use Nodemailer to send the email and Ethereal to test it.
import { createTransport, type Transporter } from "nodemailer";
type SendEmailOptions = {  /** Email address of the recipient */  to: string;  /** Subject line of the email */  subject: string;  /** Message used for the body of the email */  html: string;};
export async function sendEmail(options: SendEmailOptions): Promise<Transporter> {  const transporter = await getEmailTransporter();  return new Promise(async (resolve, reject) => {    // Build the email message    const { to, subject, html } = options;    const from = import.meta.env.SEND_EMAIL_FROM;    const message = { to, subject, html, from };    // Send the email    transporter.sendMail(message, (err, info) => {      // Log the error if one occurred      if (err) {        console.error(err);        reject(err);      }      // Log the message ID and preview URL if available.      console.log("Message sent:", info.messageId);      resolve(info);    });  });}
async function getEmailTransporter(): Promise<Transporter> {  return new Promise((resolve, reject) => {    if (!import.meta.env.RESEND_API_KEY) {      throw new Error("Missing Resend configuration");    }    const transporter = createTransport({      host: "smtp.resend.com",      secure: true,      port: 465,      auth: { user: "resend", pass: import.meta.env.RESEND_API_KEY },    });    resolve(transporter);  });}
This code may look like a lot, but it’s not doing much. Here’s a brief summary of the two functions:
getEmailTransporter()creates a Nodemailer transporter using Resend configuration and credentials. Think of this as the email account that sends the email.sendEmail()is the function that actually sends the email. It accepts the dynamic data from thesend-emailendpoint, and uses that data, along with the transporter, to send the email.
#Add Resend environment variables
Before this will work, we need to add the appropriate environment variables. Create a .env file in the root of your project and add the following lines, replacing <value> with the appropriate value for each variable.
RESEND_API_KEY="<value>"SEND_EMAIL_FROM="<value>"Note that the SEND_EMAIL_FROM value should be the email address that the email will appear to come from. This must use a domain that has been verified in your Resend account.
#Add success page
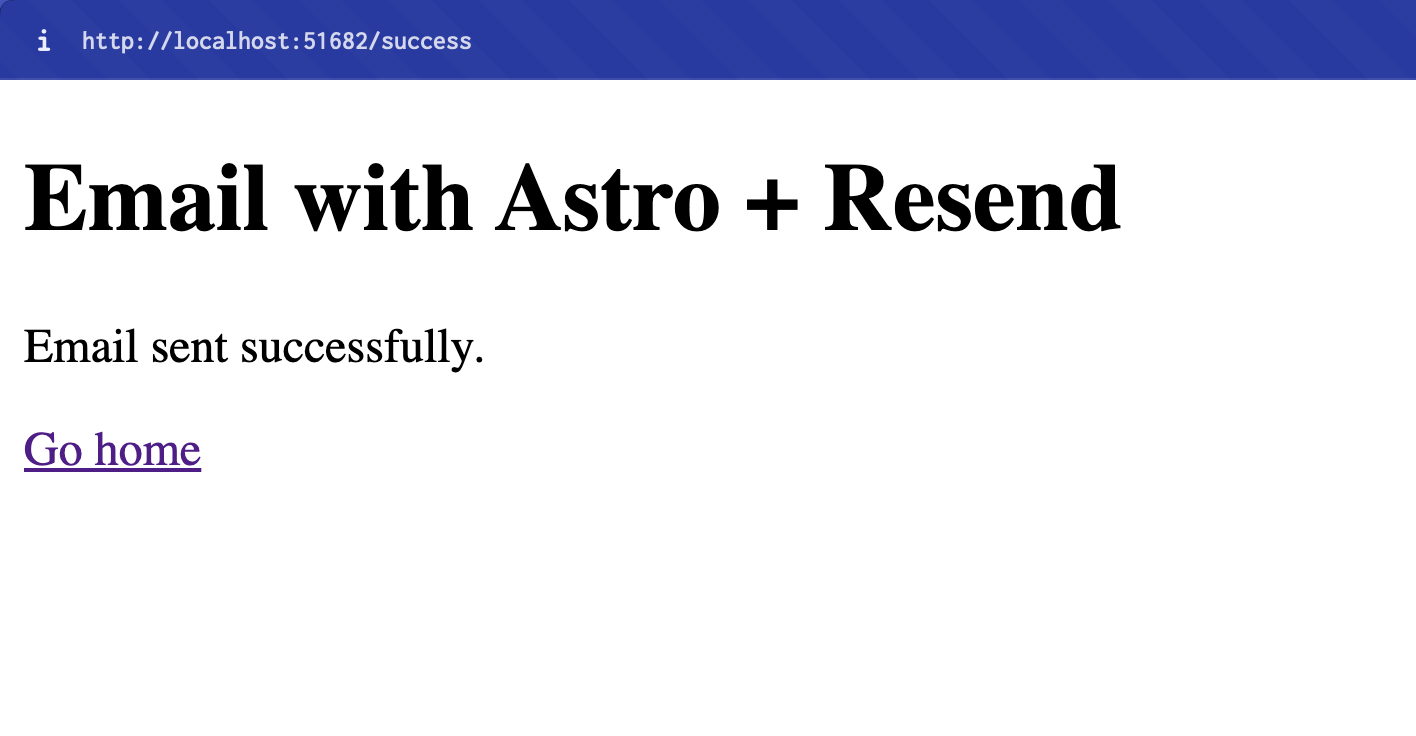
Let’s add a simple success page as the destination after the email is sent.
------
<html lang="en"> <head> <meta charset="utf-8" /> <link rel="icon" type="image/svg+xml" href="/favicon.svg" /> <meta name="viewport" content="width=device-width" /> <meta name="generator" content={Astro.generator} /> <title>Email with Astro + Resend</title> </head> <body> <h1>Email with Astro + Resend</h1> <p>Email sent successfully.</p> <p><a href="/">Go home</a></p> </body></html>#Test the email service
Now you have the basics and if you fill out the form, you should see the email sent successfully.
Email will actually be sent!
It’s easy to get into the habit that what we do locally doesn’t trigger something real. But in this case, the email will actually be delivered by Resend.
For that reason, be sure to send to an email address where you can access the inbox to see the email arrive.
#Add email templates
So far, we have something similar to a contact form. That may be good enough for your project.
In many cases, applications require repeatable email notifications and could make use of templating. Let’s add that next.
#Install EJS for templating
EJS is a basic templating engine that we’ll use to create email templates. Install the package and its type definitions.
> npm install ejs @types/ejs#Add templating logic to the email utility
Now let’s add the templating logic to the email utility. Make the following changes to the email utility.
import ejs from "ejs";import fs from "fs";import { createTransport, type Transporter } from "nodemailer";
type WelcomeEmailParams = { name: "welcome"; params: { name: string } };type CustomEmailParams = { name: "custom"; params: { html: string } };
type TemplateParams = WelcomeEmailParams | CustomEmailParams;
type SendEmailOptions = {  /** Email address of the recipient */  to: string;  /** Subject line of the email */  subject: string;  /** Message used for the body of the email */  html: string;  /** Parameters to send to the template */  template: TemplateParams;};
export async function sendEmail(options: SendEmailOptions): Promise<Transporter> {  const transporter = await getEmailTransporter();  return new Promise(async (resolve, reject) => {    // Build the email message    const { to, subject, html } = options;    const { to, subject, template } = options;    // Parse email template    const html = await parseEmailTemplate(template.name, template.params);    const from = import.meta.env.SEND_EMAIL_FROM || "MyApp <noreply@example.com>";    const message = { to, subject, html, from };    // Send the email    transporter.sendMail(message, (err, info) => {      // ...    });  });}
async function getEmailTransporter(): Promise<Transporter> {  // ...}
async function parseEmailTemplate(name: TemplateParams["name"], params: TemplateParams["params"]): Promise<string> {  // Read the raw template file  const rawTemplate = fs.readFileSync(`./src/utils/templates/${name}.ejs`, "utf8");  // Run the template through EJS to replace variables with parameter values  return ejs.render(rawTemplate, params);}
The only real change here is that we’re now using EJS to parse the template files (which we will add next). So now we’ll pass a template name and the parameters for that template into sendEmail, rather than an HTML string.
Relative template path behavior
Note that fs.readFileSync is a file path relative to the runnable directory (in this case, the root directory). The format of using a relative root path is important and will come into play later.
#Add email templates
Now let’s add the email templates. Create a templates directory inside utils, then add two files: welcome.ejs and custom.ejs.
First, the welcome template, which is an example of an email where the content is mostly hard-coded, with only the name parameter being dynamic.
<div style="max-width: 600px; border: 1px solid #efefef; padding: 16px"> <!-- Header --> <div style="margin-bottom: 32px"> <p>Header content goes here ...</p> </div> <!-- Main Content --> <div style="margin-bottom: 32px; color: #222"> <p style="margin-bottom: 16px">Hi, <%- name %>,</p> <p style="margin-bottom: 16px">Welcome to my application!</p> <p> Proident ullamco cillum eu magna dolor Lorem sit elit ad dolore eiusmod aliquip dolor enim. Cupidatat labore velit aliquip ullamco aute esse cupidatat nisi quis ullamco. Pariatur aute do quis ex exercitation ullamco enim tempor. Culpa veniam do ex velit magna consequat Lorem duis enim anim do. </p> </div> <!-- Footer --> <div style="color: #5f5f5f"> <p>Footer content goes here ...</p> </div></div>Then the custom template, which is an example of an email where the content is entirely dynamic.
<div style="max-width: 600px; border: 1px solid #efefef; padding: 16px"> <!-- Header --> <div style="margin-bottom: 32px"> <p>Header content goes here ...</p> </div> <!-- Main Content --> <div style="margin-bottom: 32px; color: #222"><%- html %></div> <!-- Footer --> <div style="color: #5f5f5f"> <p>Footer content goes here ...</p> </div></div>#Add new form to the home page
Now we’re going to make a few changes to the home page to keep the previous behavior, while adding the welcome email behavior, which is a bit closer to what you might see in a real application.
------
<html lang="en"> <head> <!-- ... --> </head> <body> <h1>Email with Astro + Resend</h1>
<form action="/actions/send-email" method="post"> <!-- ... --> </form>
<hr />
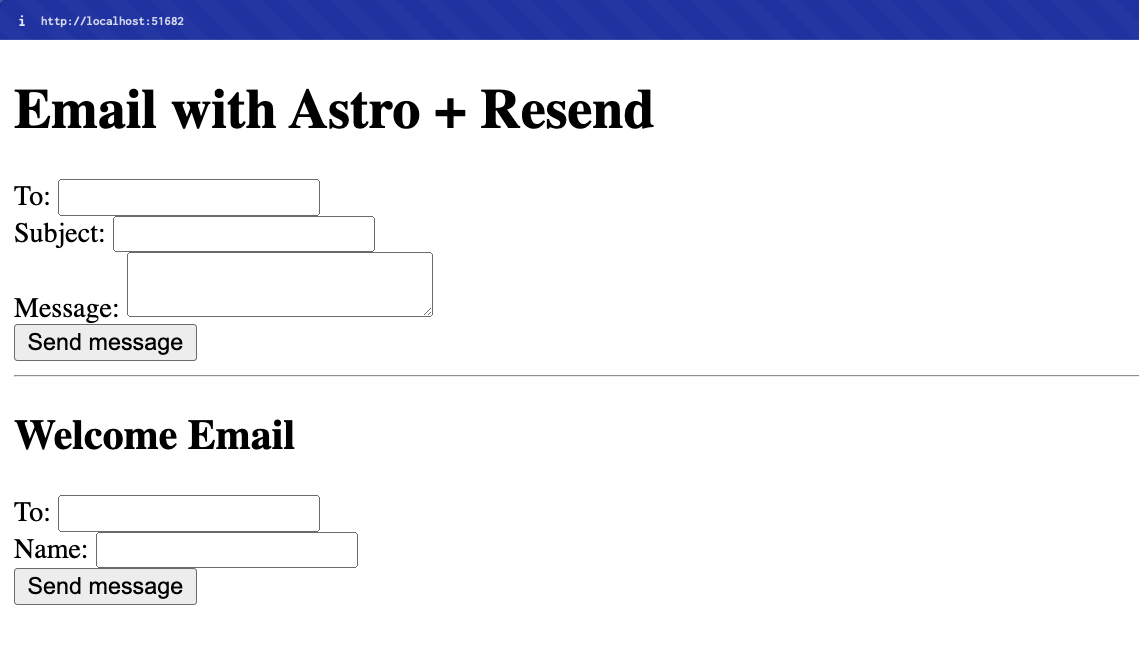
<form action="/actions/send-welcome-email" method="post"> <h2>Welcome Email</h2> <div> <label for="send-email__recipient">To:</label> <input type="email" name="recipient" id="send-email__recipient" required /> </div> <div> <label for="send-email__name">Name:</label> <input type="text" name="name" id="send-email__name" required /> </div> <input type="submit" value="Send message" /> </form> </body></html>Reload your home page and you should see two forms: one for sending a custom email and one for sending a welcome email.
#Update the email sending actions
There is just one simple change to make to the custom email endpoint to account for the adjusted parameters in the email utility.
// ...
export const POST: APIRoute = async ({ request, redirect }) => {  // ...
  try {    const html = `<div>${message}</div>`;    await sendEmail({ to, subject, html });    await sendEmail({ to, subject, template: { name: "custom", params: { html } } });  } catch (error) {    throw new Error("Failed to send email");  }
  return redirect("/success");};
And then a add a new send-welcome-email action.
import type { APIRoute } from "astro";import { sendEmail } from "../../utils/email";
export const prerender = false;
export const POST: APIRoute = async ({ request, redirect }) => {  const formData = await request.formData();  const to = formData.get("recipient") as string | null;  const subject = "Welcome to MyApp!";  const name = formData.get("name") as string | null;
  if (!to || !name) {    throw new Error("Missing required fields");  }
  try {    await sendEmail({ to, subject, template: { name: "welcome", params: { name } } });  } catch (error) {    console.error(error);    throw new Error("Failed to send email");  }
return redirect("/success");};#Test the templates locally
Now you have what you need to test it. Fill out the form for the welcome email and you should see the content from the template delivered to inbox of the recipient entered in the form.
#Success!
If you’ve made it this far, you have the beginnings of what can become a robust email system to serve apps at scale.
We’ll move on to cover a few next steps you might consider.
#Next steps
Let’s work through a few ideas for consideration as you apply this foundation to your application.
#Deploy to Netlify
This site is pretty much ready to deploy to Netlify as is! The only thing we’re missing is the Netlify adapter, which will allow us to use SSR functionality in production.
#Add Astro’s Netlify Adapter
Fortunately, Astro and Netlify have worked together to make this process super simple. Run the following command to add the Netlify adapter to your project.
> npx astro add netlifyThis will change your astro.config.mjs file to look something like this:
import { defineConfig } from "astro/config";import netlify from "@astrojs/netlify";
export default defineConfig({ output: "server", adapter: netlify(),});#Include email templates in Netlify deployment
This adapter uses serverless functions to handle the SSR functionality. Because we’re using files within these functions (for the email templates) which we haven’t imported directly, we have to tell Netlify to include these files when deploying the SSR behavior.
This can be done through a netlify.toml configuration file at the root of your project.
[functions] included_files = ["./src/utils/templates/**.ejs"]#Push and deploy to Netlify
Then you’re all set to push to a GitHub repository and deploy a new site to Netlify.
Of course, as mentioned in the intro, you’re also welcome to deploy the example project to Netlify using the button below.
Set environment variables in Netlify
If you deploy with the example project, you’ll be automatically prompted to add environment variable. But if you set up the project on your own, be sure to set the RESEND_API_KEY and SEND_EMAIL_FROM environment variables in the Netlify UI or CLI.
Pro tip
Once you have the environment variables set in a Netlify site, they automatically get loaded when running ntl dev locally, so you can ditch your .env file.
#Use Ethereal for testing and local development
Ethereal is a service that allows you to test email sending without actually sending emails. This is great for development and testing, as you can see the email that would be sent without actually sending it.
And it’s built right into Nodemailer. If you’ve followed the steps above, you can adjust the getEmailTransporter function to use Ethereal in development.
async function getEmailTransporter(): Promise<Transporter> {  return new Promise((resolve, reject) => {    // Use Resend in production    if (import.meta.env.PROD) {      if (!import.meta.env.RESEND_API_KEY) {        throw new Error("Missing Resend configuration");      }      const transporter = createTransport({        host: "smtp.resend.com",        secure: true,        port: 465,        auth: { user: "resend", pass: import.meta.env.RESEND_API_KEY },      });      resolve(transporter);    }
    // Create a test email account using ethereal.email when in development    createTestAccount((err, account) => {      const { user, pass, smtp } = account;      const { host, port, secure } = smtp;      const transporter = createTransport({ host, port, secure, auth: { user, pass } });      resolve(transporter);    });  });}
Here’s the code in the example project if you want to see it in context.
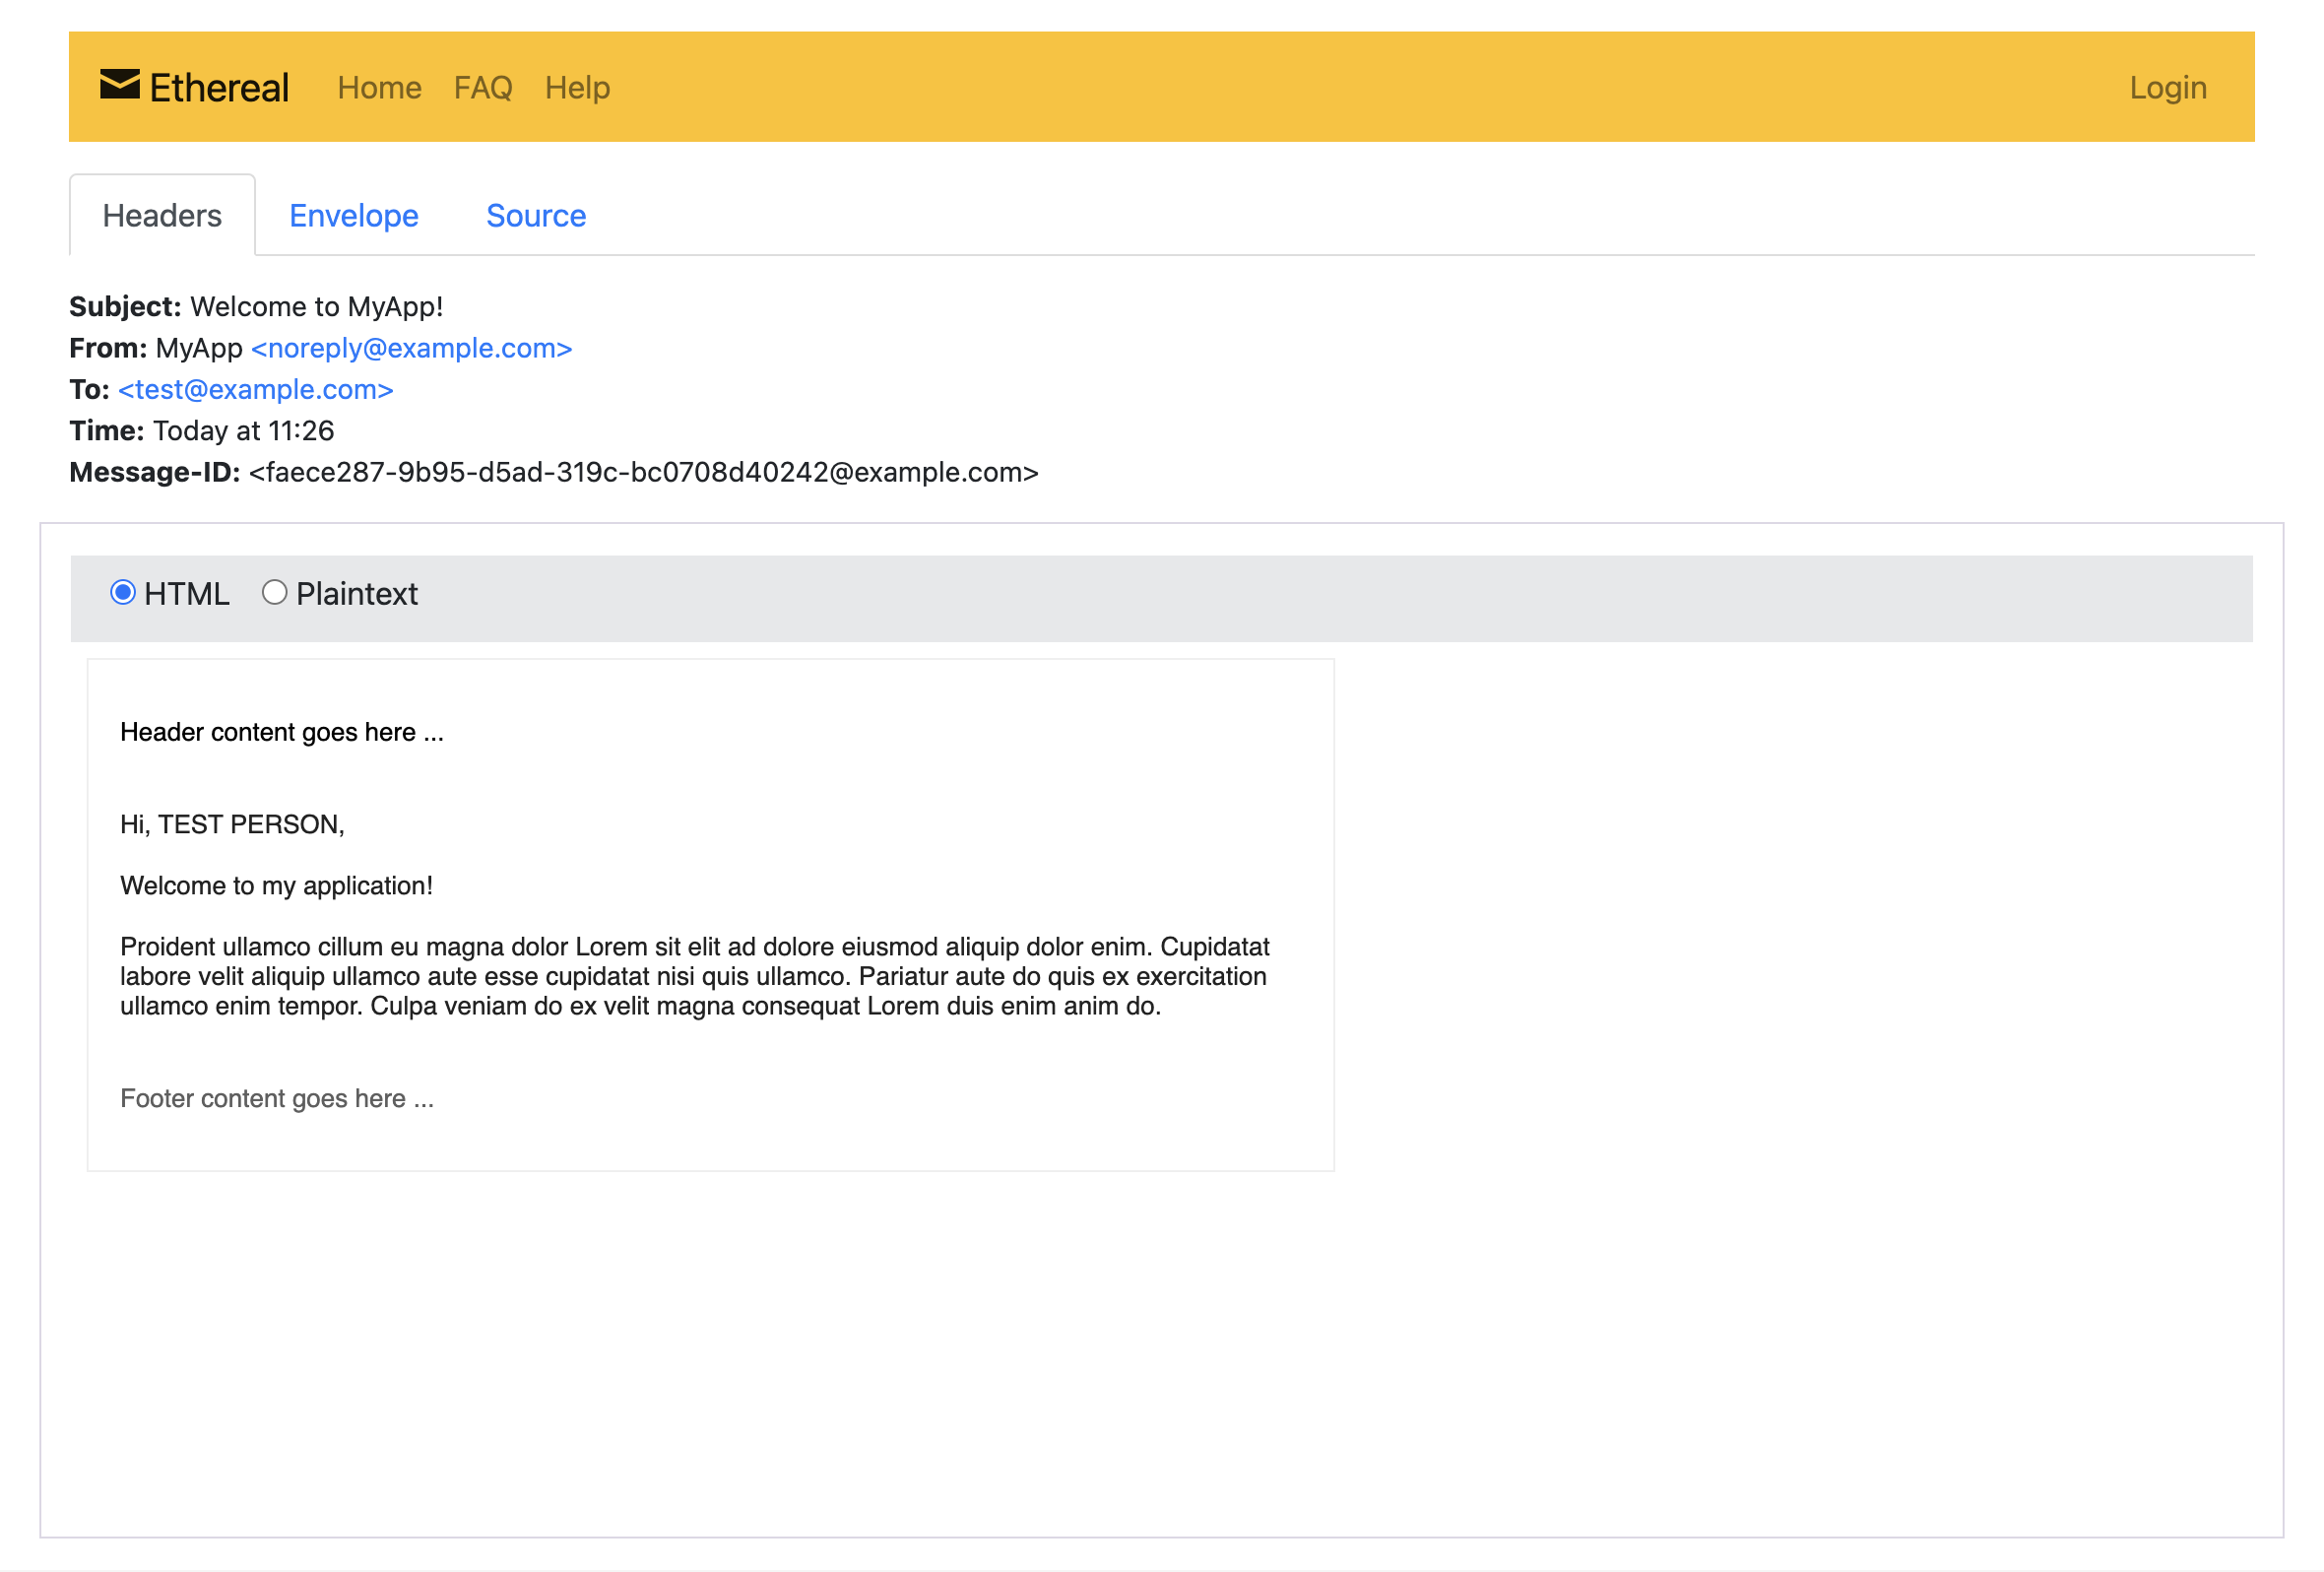
It also helps to print the test URL to the console so you can see the email that would be sent. Here’s the example code that does this. (Don’t forget to import createTestAccount from nodemailer.)
Following that URL after sending an email will give you a preview of the email without it having been sent.
#A few other ideas
And here are a few other ideas I’ll leave you with to continue improving your email system:
- Better error catches: Rather than throwing errors from Astro SSR actions, it’s a better practice to redirect and show a message to the user. Here’s an example of using cookies for status messages in Astro.
- Shared layout: If you’re going to be sending multiple emails, you might consider creating a shared layout for your emails. This can help ensure that all emails have a consistent look and feel.
- Email styling: The emails in this guide (along with the pages) are very basic. In a production application, you may want to add a bit of styling to your emails. But, be careful! Email clients are notoriously bad at rendering CSS.