The Supabase extension for Netlify enables you to read and write data to Supabase in a site deployed to Netlify. The extension provides a seamless way to connect your Netlify site to your Supabase project, for use in all Netlify environments.
#TL;DR
We’re going to install and configure the Supabase extension, fill the database with data, and then set up an example site that reads and writes data to Supabase.
The example project is a simple site that lists pets from our Supabase database and enables users to “snuggle” pets.
#Deploy example site
Before we can install and apply the Supabase extension, we need to have a Netlify site. Deploy the example project by clicking the button below.

The build will likely fail the first time because the extension hasn’t been installed yet. Let’s move on to the next section and then come back to re-deploy.
#Set up Supabase database
Let’s create a new Supabase project and set up a database so that we have something to work with.
#Create a new project
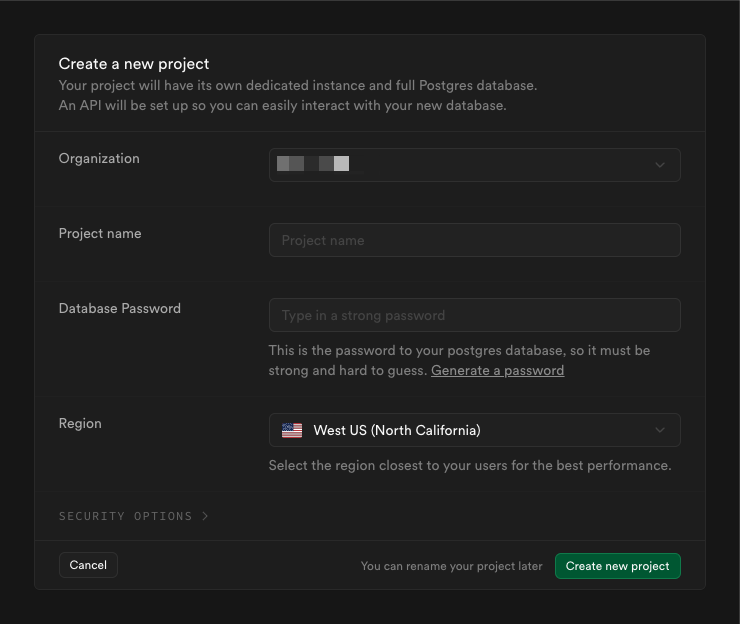
After signing up or signing in to your Supabase account, click New project from your dashboard. Select your organization, give the project a name, generate a new password for the database, and select the us-east-1 region.
#Create the pets table
Once the database is provisioned, we can create the pets table. From your project dashboard, open the SQL editor.
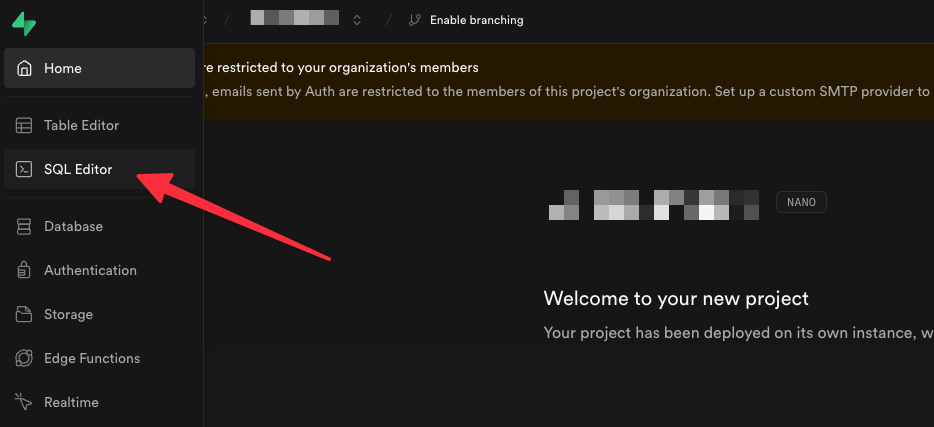
Run the following commands in the SQL editor to create the pets table and add some starter data.
CREATE TABLE pets ( id UUID PRIMARY KEY DEFAULT uuid_generate_v4(), name TEXT NOT NULL, greeting TEXT NOT NULL, bio TEXT NOT NULL, image TEXT NOT NULL, snuggles INTEGER NOT NULL DEFAULT 0, created_at TIMESTAMPTZ NOT NULL DEFAULT NOW());#Add some starter data
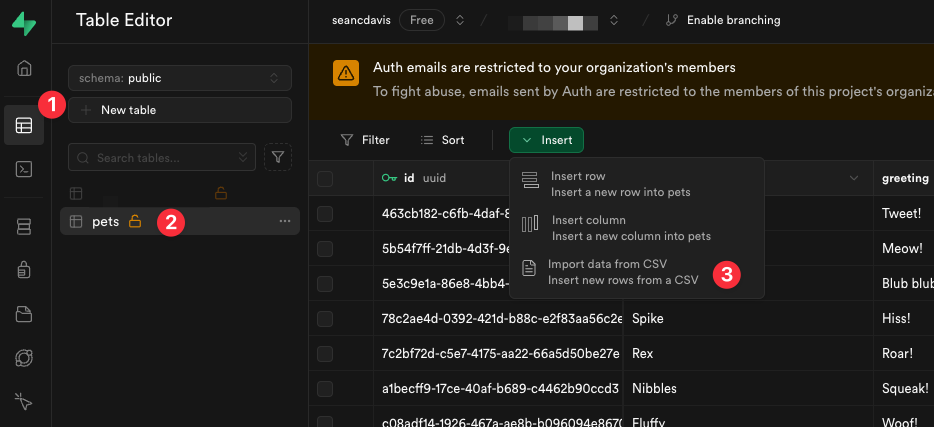
Next, let’s add some starter data to the pets table. From the Table Editor in Supabase (1), choose the pets table from the list (2) and then select Insert > Import data from CSV (3).
Activate the Paste test tab and paste the following data.
name,greeting,image,snuggles,bioBubbles,Blub blub!,bubbles.jpg,0,"Hey there, I'm Bubbles! I swim around all day and blow bubbles. I might be small, but I have a big personality."Chirpy,Tweet!,chirpy.jpg,0,"Hello, I'm Chirpy! I love singing and hopping around. My favorite thing is to wake everyone up with my cheerful tweets."Fluffy,Woof!,fluffy.jpg,0,"Hi, I'm Fluffy! I love chasing my tail and barking at the mailman. My favorite pastime is napping on the couch."Nibbles,Squeak!,nibbles.jpg,0,"Hi, I'm Nibbles. I love running on my wheel and nibbling on treats. I'm always up for an adventure in my little world."Rex,Roar!,rex.jpg,0,"Roar! I'm Rex, the tiny dinosaur. I might be small, but I have a big roar. I love stomping around and pretending I'm a giant."Shadow,...,shadow.jpg,0,"Hello, I'm Shadow. I'm mysterious and love hiding in the shadows. I enjoy quiet moments and observing everything around me."Spike,Arrf!,spike.jpg,0,"Hi, I'm Spike. Do I look prickly? I'm not. I'm a softie at heart. I love exploring and curling up into a ball."Whiskers,Meow!,whiskers.jpg,0,"Hello, I'm Whiskers. I enjoy long naps in the sun and knocking things off the counter. I'm a master of the purr and the silent meow."You’re welcome to change the data to whatever you’d like, but note that the images have already been added to the site
and unless you use the name of an existing image for the image field, the pet will not have an image to display.
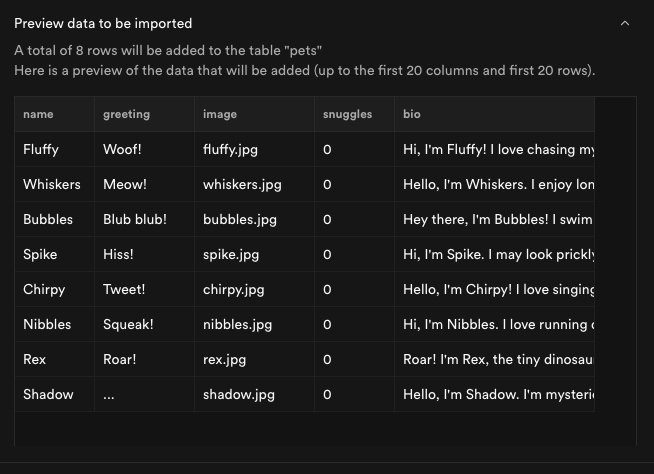
This will give you a preview of the data that will be inserted into the database. Click Import data to add the data to the database.
#Install the Supabase extension
Now that we have the database set up, we can install the Supabase extension.
Back in the Netlify UI, go to your team’s dashboard, navigate to Extensions and click on the Supabase extension. Click the install button to install the extension.
#Configure the Supabase extension
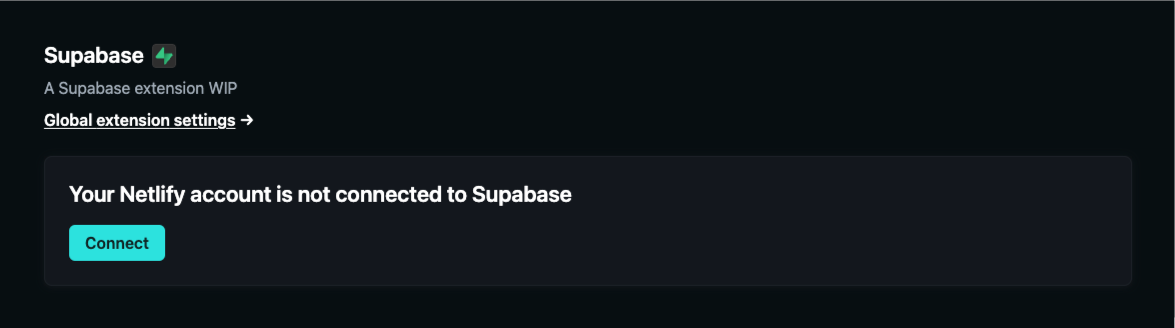
After the extension is installed, navigate to the example site that you just deployed, and go to Site configuration. In the General settings, you will see a new Supabase section. Click Connect to connect your Netlify site to your Supabase account using OAuth.
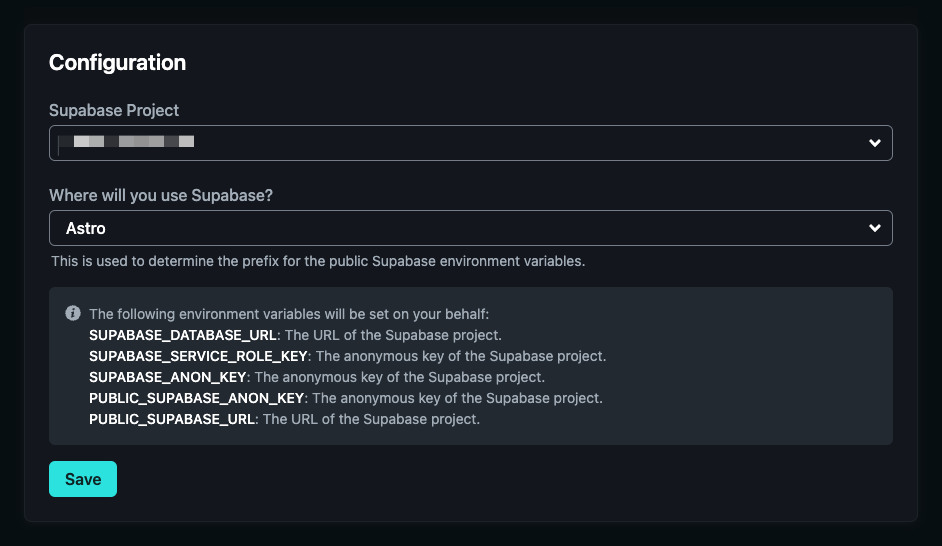
Once you’ve completed this process, return to the Supabase section of your site configuration, and choose the project you just created in Supabase. And make sure to choose Astro for the framework since the example site is built with Astro.
#Deploy the site again
Now that the extension is configured, we can deploy the site again. Click the Deploy site button to deploy the site.
Once the build is complete, navigate to your production URL and you should see the pets that we just added to the database.
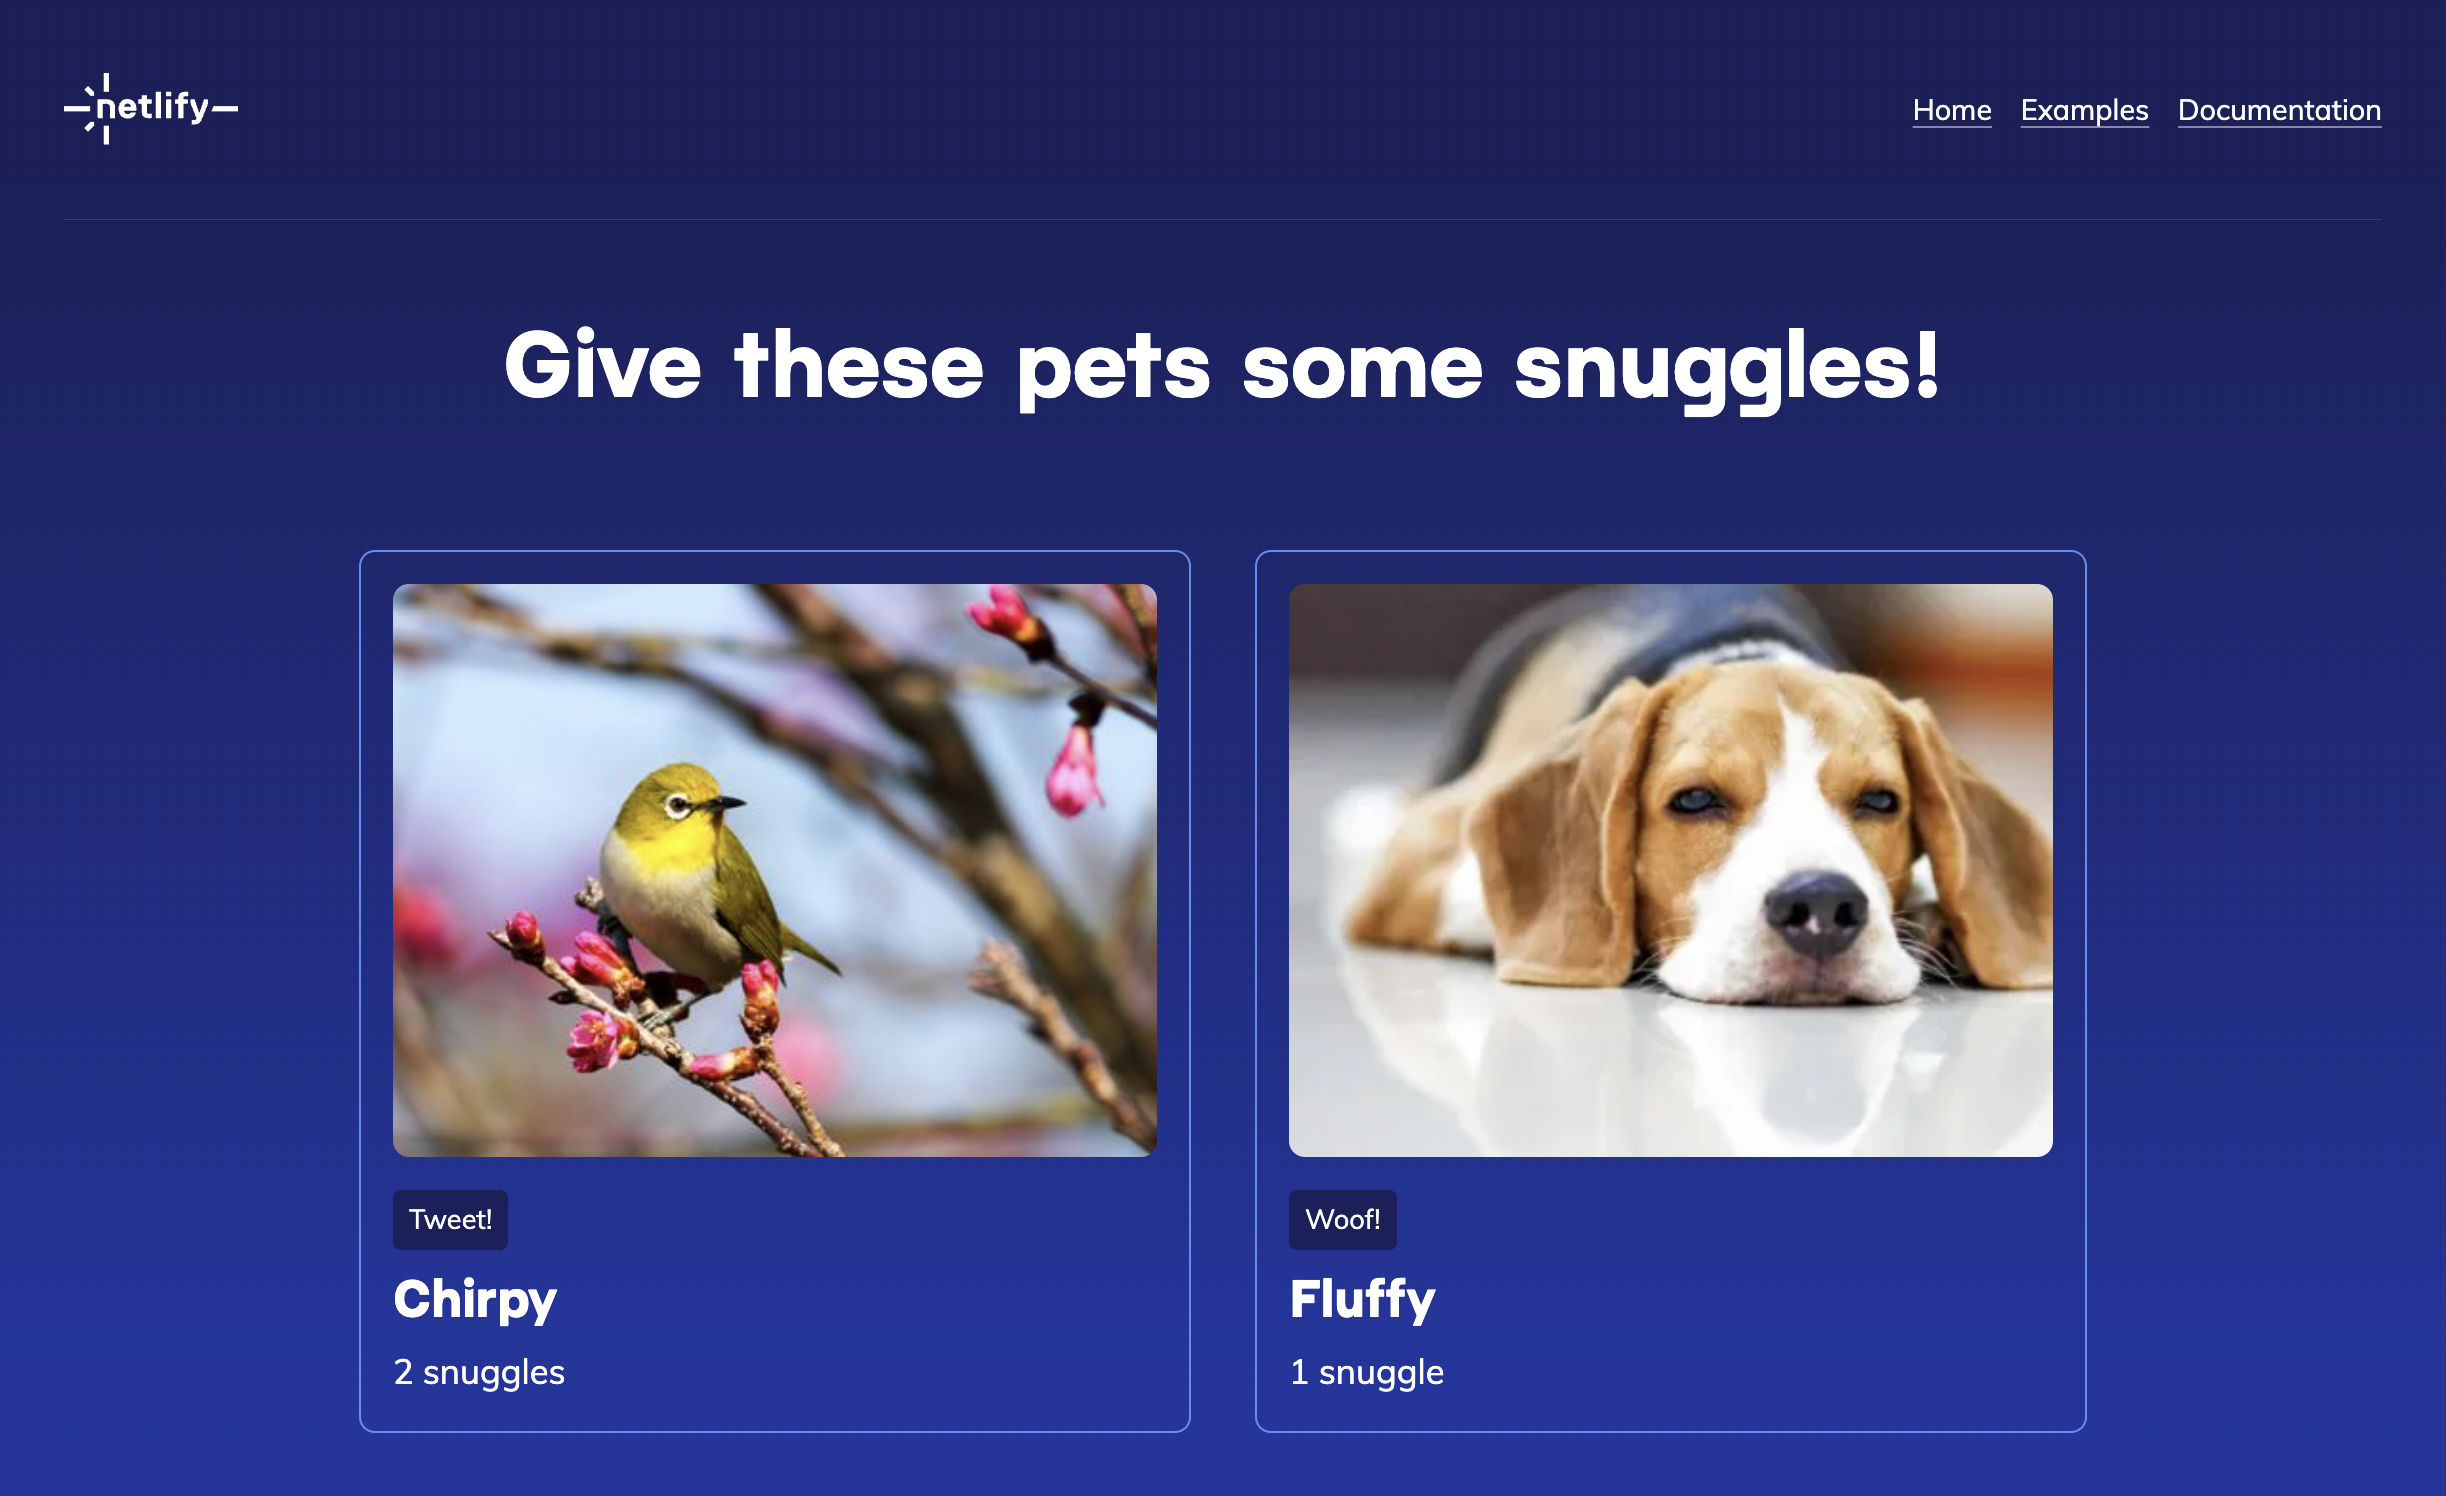
Give them some snuggles and watch the count go up!
#Working locally
You now have what you need to start working with Supabase in a Netlify site. The extension handled injecting environment variables into your Netlify site. You can apply the same approach to any Netlify project.
You can also work locally without dealing with environment variables. To do this, all you have to do is to use Netlify Dev rather than Astro’s default development server.
Install the Netlify CLI.
npm install -g netlify-cliThen link the site to your production site.
netlify linkThe easiest way to do this is to find the site ID, which is available in the general section of you site configuration in the Netlify UI.
Then start the development server. Your environment will be automatically configured, and you’ll be able to use your Supabase database locally.
netlify dev