I attended a Sourcegraph AI Dev Tools meetup where I live coded GeoCities back to life in about 10 minutes with Netlify and a suite of AI tools. I used Sourcegraph’s Cody, a Langbase Pipe, and Dall-E 3.
Modern web tooling is epic!
I just live coded GeoCities back to live in about 10 minutes with Netlify and AI at the @Sourcegraph AI Dev Tools meetup, using @SourcegraphCody, @LangbaseInc and @NetlifyApparently I’m now a CHOP Developer!https://t.co/nP2wjDNeWs
— Matt Biilmann (@biilmann) August 7, 2024
#TL;DR
We’re going to walk through the working example to see how all the pieces fit together. Then we’ll show you how you can take the code example and apply get it working locally so that you can tweak it to your heart’s content.
Let me see it!
The demo site is available at geosimcities.netlify.app.
You’re also welcome to start with getting the project set up on your account and then come back for the details.
#Examining the code
We’re going to work through the example code to explain how everything fits together. We’ll start with the static index page and then move through the dynamic functions that make it all work.
#Static HTML page
The site is super simple on the surface. There’s no build. It’s just an index.html page in a public directory.
And there’s not much to the index page at first glance. Just a simple form and an iframe, along with a bit of JavaScript:
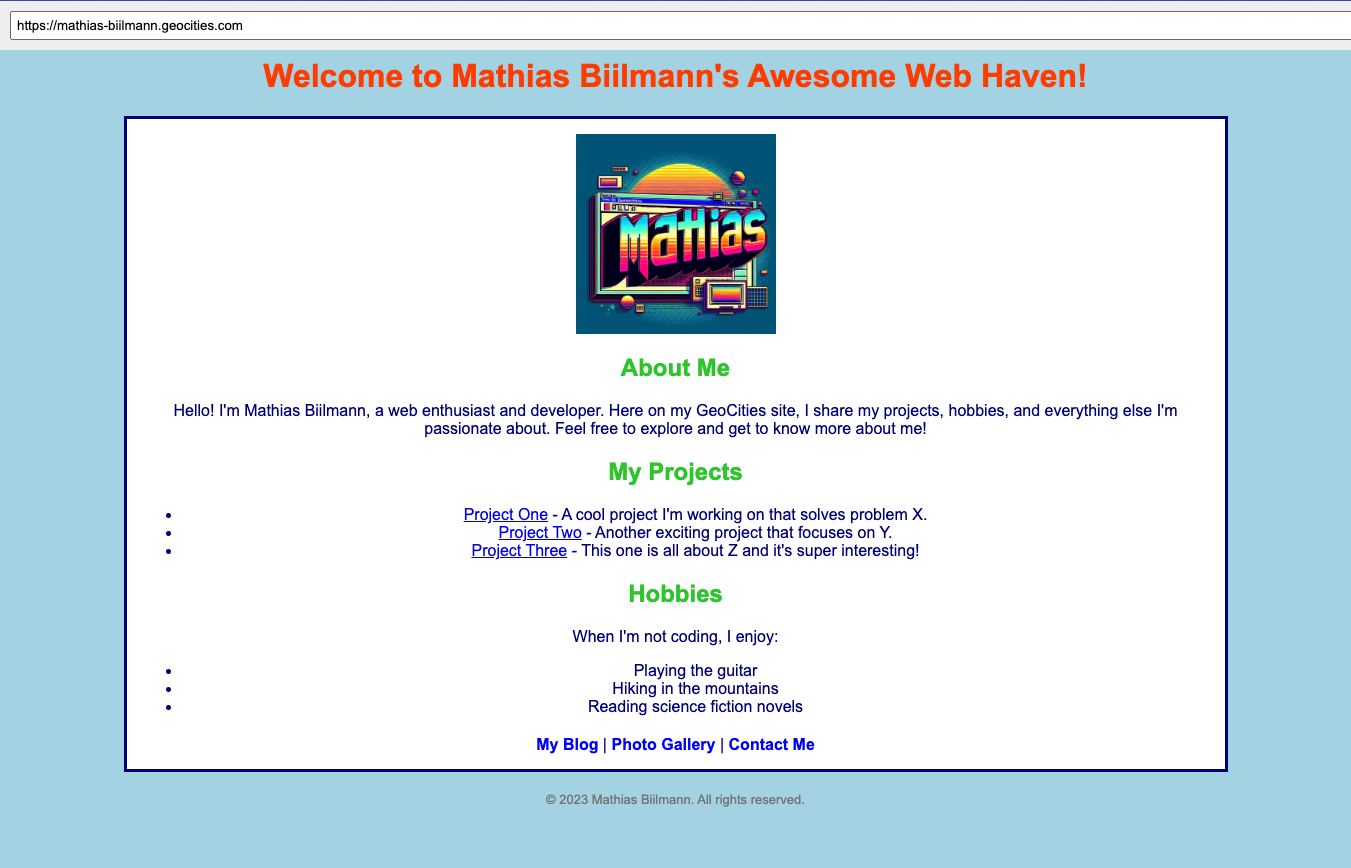
<div id="browser"> <div id="address-bar"> <input type="text" id="address-input" placeholder="Enter URL" /> </div> <iframe id="content" src="/geocities?url=https%3A%2F%2Fmathias-biilmann.geocities.com"></iframe></div>This is what makes up the page in the screenshot above. The form is the address bar, and the iframe is the browser window.
The script on the page does this:
-
When the page loads, it checks if there’s a
urlparameter in the current page’s URL.- If the
urlparameter exists, it decodes and sets it as the value of the address bar input field and sets the iframe’s source to that URL. - If the
urlparameter is not present, it defaults to https://mathias-biilmann.geocities.com.
- If the
-
When content in the address bar changes and the “Enter” key is pressed, the input value is URL-encoded and set as the iframe’s source.
-
When the iframe content loads, it captures the loaded URL from the iframe, makes a few updates to the page, and updates the browser history state.
#GeoCities generator function
The magic really begins with the GeoCities serverless function. Notice that the iframe in the index page points to /geocities?url=https%3A%2F%2Fmathias-biilmann.geocities.com.
<iframe id="content" src="/geocities?url=https%3A%2F%2Fmathias-biilmann.geocities.com"></iframe>The /geocities URL path points to a Netlify serverless function, which is located at netlify/functions/geocities.mts. This path is configured in the exported configuration object from the function.
export default async (request: Request, context: Context) => {  // ...};
export const config = { path: "/geocities" };
This function uses a Langbase Pipe to generate the appropriate GeoCities-style content HTML, which is then streams back to the browser.
A Langbase Pipe is a prompt and LLM configuration for generating content. This particular pipe is public and available at biilmann/geosim on Langbase.
#Rewriter to replace URLs and images
The pipe does its best to return perfect HTML, but there are some pieces missing. The original GeoCities pages had a lot of images and links to other pages. The pipe includes instructions to use links and images, but they’re not real URLs or images.
The edge function at netlify/edge-functions/rewriter.ts fixes this for us. It rewrites the HTML returned from the function in two ways:
- Links are rewritten to point back to the
/geocitiesfunction, so that when you click a link, the function is called again with the new URL, which will generate a new page. - Images are rewritten to point to the
/geoimagesendpoint, which will be responsible for generating the images.
#Generating images
We then add one more function, netlify/functions/geoimages.mts, which generates the images for the page. This function uses the OpenAI Dall-E 3 model to generate images based on the following prompt:
Create a single image from a GeoCities website. Not an image of the website, but an image that would be used on a GeoCities website. Guess what the image should be from the URL, <url>
And with that, we have all the pieces in place to generate GeoCities-style pages with AI!
#Caching to maximize performance
That said, when you put all these pieces together, you’ll notice that the page loads pretty slowly. To address this, we cache the initial response for a given URL and the current build.
Both serverless functions take advantage of Netlify’s durable cache directive to ensure that the response gets caches across all edge nodes.
Here’s an example response coming from the GeoCities function:
return new Response(responseStream, { status: 200, headers: { "Content-Type": "text/html", "Transfer-Encoding": "chunked", "Netlify-CDN-Cache-Control": "public, max-age=31536000, durable", },});#Set up your project
Let’s get the project set up so you can tinker and deploy to your own Netlify site.
#Generate an OpenAI API key
We’re using AI in this example in two ways — through Langbase for generating the HTML content and through OpenAI for generating images. Langbase works by configuring a pipe with a prompt and LLM configuration, which means that you can also power your Langbase Pipe with OpenAI.
Requires OpenAI credits
While this is the path we recommend for this project, note that it requires a paid OpenAI account with loaded credits.
Once you’ve generated an OpenAI API key, store it somewhere safe. We’ll use it soon.
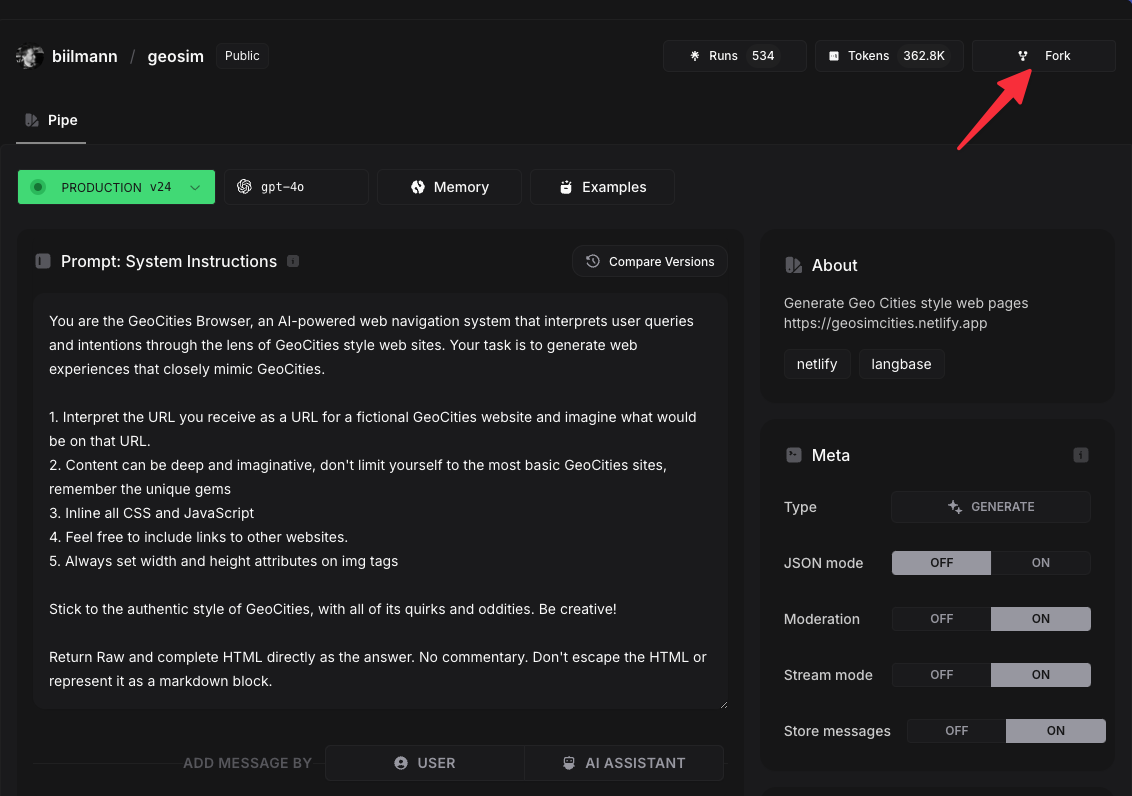
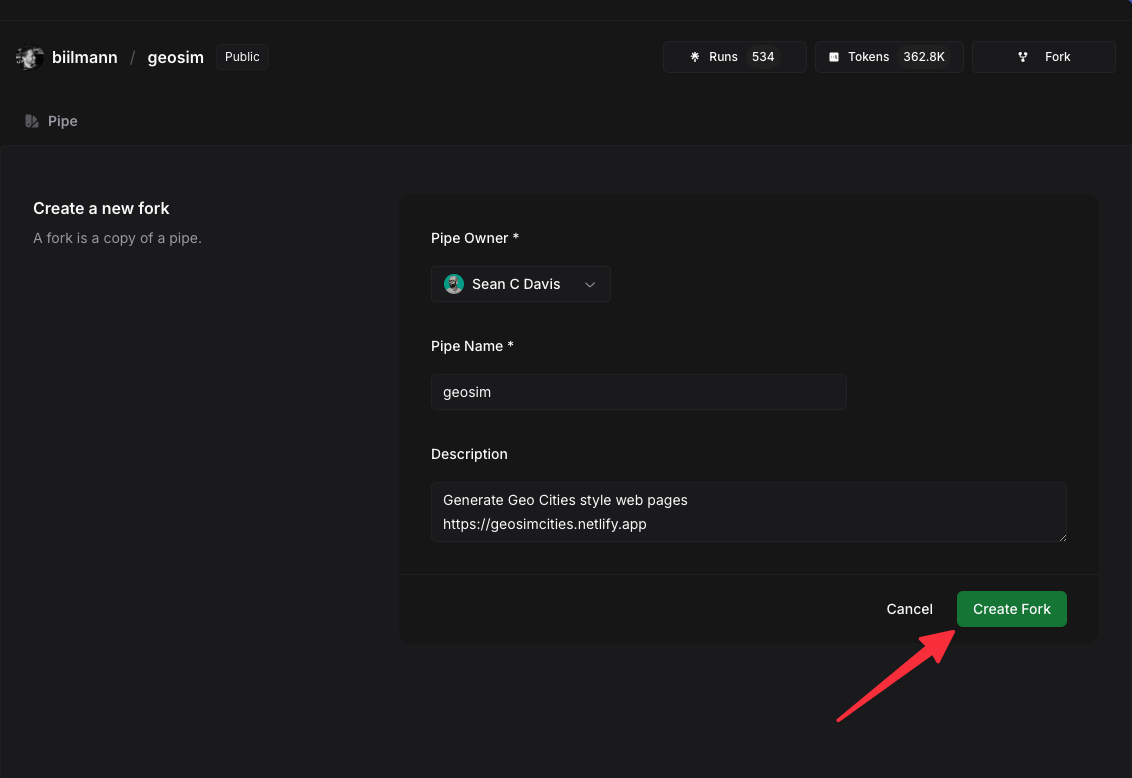
#Fork and configure Langbase Pipe
Next, sign up for a Langbase account and fork the GeoSim pipe to your account. This will allow you to make changes to the pipe and use it in your project.
Then you’ll need to add your OpenAI API key to the pipe. Go to the settings for the pipe and add a pipe-level key for OpenAI.
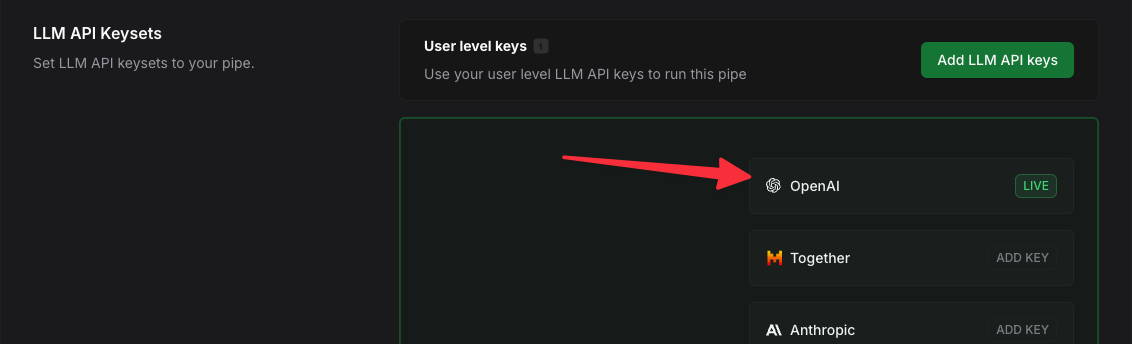
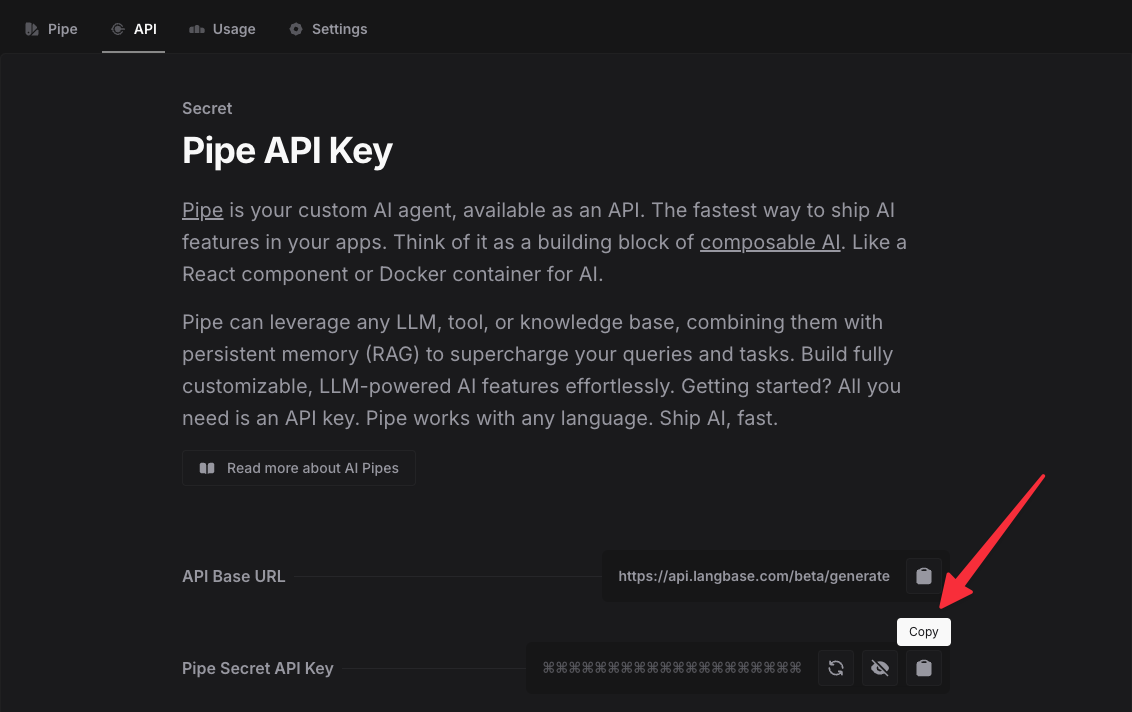
Copy the secret key, and keep that safe. We’ll use it in the next step.
#Deploy project to Netlify
Now we’re ready to deploy! Click the button below to deploy the project to your Netlify account.

After connecting your Git account, fill in the values for the environment variables.

After the project is deployed, you’ll have a new public URL for your site and you’ll be live! You should be able to see the GeoCities generator in action.

And you’ll have a new repo in your GitHub account with the code for the project. You can clone the repo to your local machine and start tinkering with the code.
#Additional resources
Langbase has also published guides to help you through the process of building a similar project: