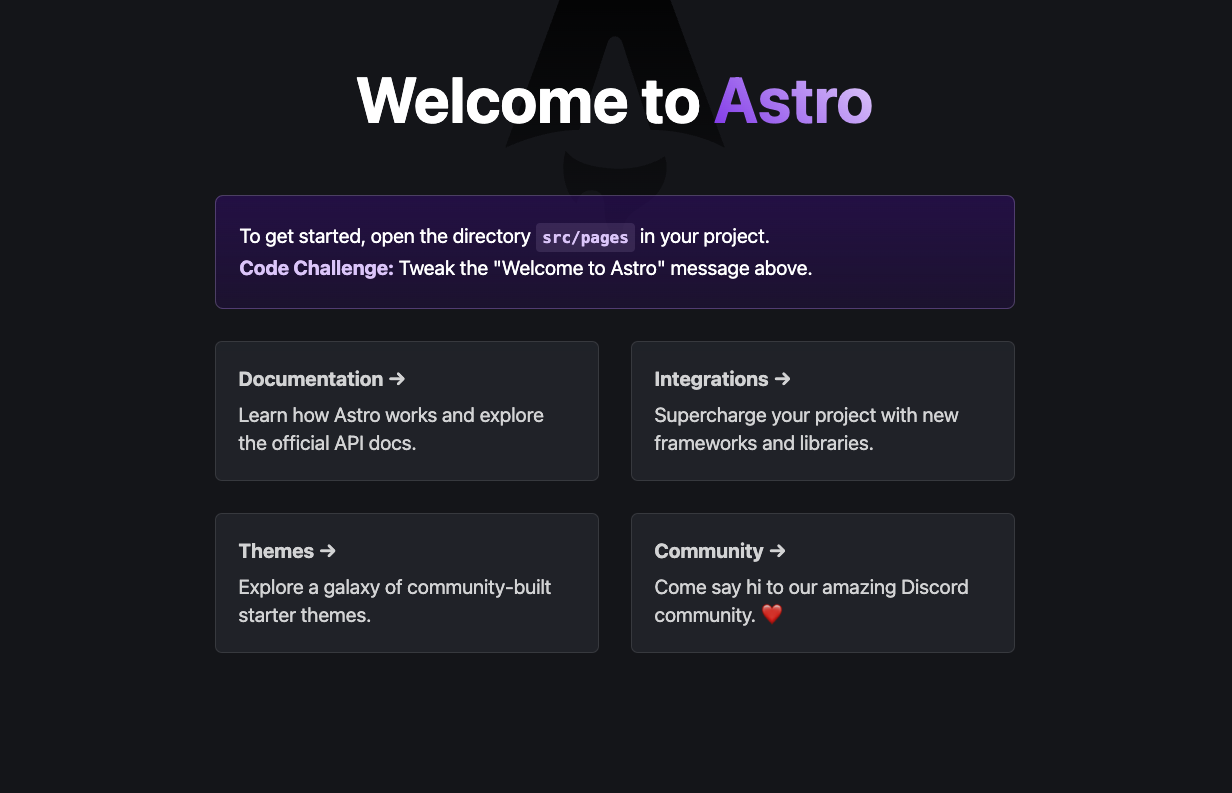
Astro is a web framework that allows you to build sites using modern JavaScript. It’s optimized for content-driven websites, and it’s fast, flexible, and fun to use. This post will show you how to get started with Astro and deploy a live site to production in just a few minutes.
#TL;DR
We’re going to use Astro’s recommended way to get started with a new site. We’ll use the Astro CLI to create a new site, run it in development, and build it for production. Then we’ll switch over to the Netlify CLI, which we can use to preview a deployment and then publish it to a new public website.
Let’s get started!
#Create new Astro site
Creating a new Astro site is best done through Astro’s interactive CLI experience. Run the following command to get started:
npm create astro@latestThis will walk you through a series of steps, as shown in the video. Fill these out however they best suit your project. This is what I did in the video:
Where should we create your new project? (default)How would you like to start your new project? Include sample filesDo you plan to write TypeScript? YesHow strict should TypeScript be? StrictInstall dependencies? YesInitialize a new git repository? Yes#Run the site in development
Next, run the site in development to see how it looks. Change into the new directory and run the dev command:
cd <your-project-name>npm run devOpen your browser to http://localhost:4321 to see your new site.

#Preview the production build
Before we’re ready to deploy, we can prep the deployment by building the site.
npm run buildTo preview the production build, we can use the Netlify CLI to create a Deploy Preview. These are unique URLs that allow you to see what your site will look like when it’s live.
First, install the Netlify CLI if you don’t have an up-to-date version:
npm install -g netlify-cliThen, run the following command to create a deploy preview:
ntl deployThis will walk you through a series of steps to authenticate with Netlify and create a new site. Once complete, you’ll see a URL where you can preview your site. Open that URL to ensure it looks the same as it did in development.
#Publish the site to a live URL
Once you’re ready to publish your site, you can use the Netlify CLI to deploy it to a live URL. This also uses the deploy command but adds the --prod flag to indicate that this is the production deployment.
ntl deploy --prodThe URL at the end of the deployment process is your live site. This will include you Netlify site name by default. Mine was https://playful-pothos-0fe9d5.netlify.app.
Open it in your browser to see your new site live on the web!
And that’s it! You’ve created a new Astro site, run it in development, built it for production, previewed the build, and deployed it to a live URL. All in just a few minutes!